


Understanding specialty collision hardware's role in car repairs is vital. Prepare workspace, gather tools, and inspect vehicle accurately. Follow manufacturer instructions strictly to avoid compromise of integrity or effectiveness during installation. Neglecting preparation or rushing can lead to misalignment or weak bonds, so always adhere to guidelines for superior outcomes with specialty collision hardware.
Installing specialty collision hardware requires careful consideration and precise techniques to ensure structural integrity and aesthetic appeal. This comprehensive guide provides essential tips for a successful installation process. From understanding unique requirements to avoiding common mistakes, we offer a step-by-step approach. Learn how to optimize results, ensuring your specialty collision hardware stands the test of time while enhancing your space. Discover expert insights tailored to the specific needs of these specialized components.
- Understanding Specialty Collision Hardware Requirements
- Step-by-Step Installation Guide for Optimal Results
- Common Mistakes to Avoid During Installation Process
Understanding Specialty Collision Hardware Requirements

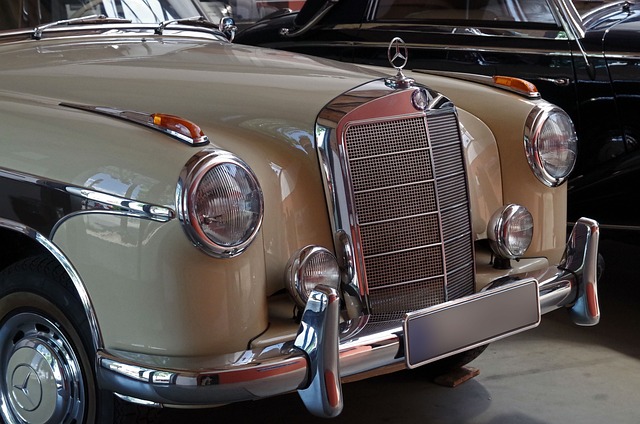
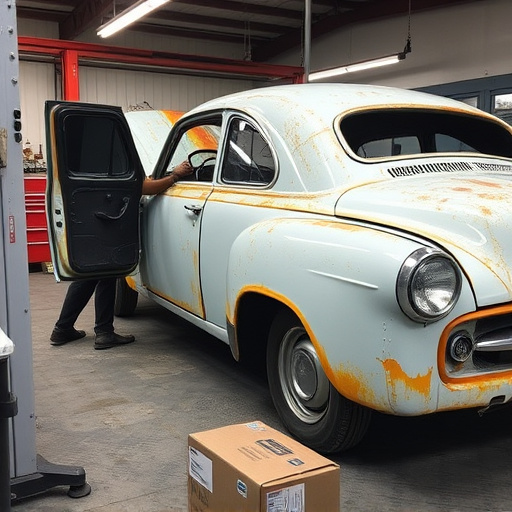
Before diving into the installation process, it’s crucial to understand the unique requirements of specialty collision hardware. This type of hardware, designed for specific vehicle models and makes, serves a critical role in ensuring structural integrity during repairs, particularly for complex or uncommon car damages. Unlike standard auto body parts, specialty collision hardware often involves intricate designs tailored to fit particular fender repair or body panel replacement needs, making it essential for high-quality car repair services.
Understanding these requirements starts with identifying the specific make and model of the vehicle in question. Each car manufacturer has its own set of guidelines and specifications for collision repair, which can vary significantly from one model to another. Proper training and knowledge of auto body services are therefore vital to accurately assess and meet these needs, ensuring that every piece of specialty collision hardware is correctly fitted, aligned, and reinforced, thereby enhancing the overall safety and durability of the vehicle following repairs.
Step-by-Step Installation Guide for Optimal Results

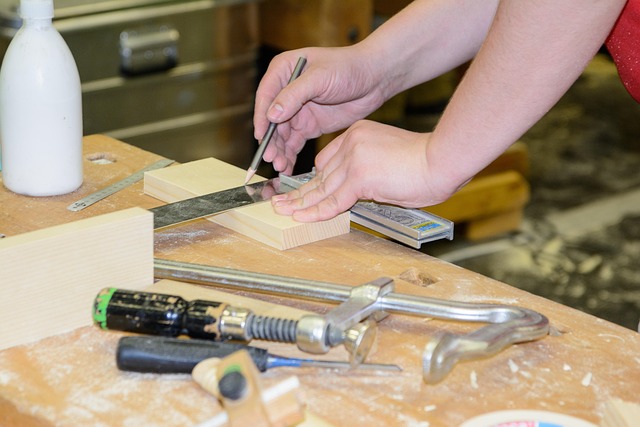
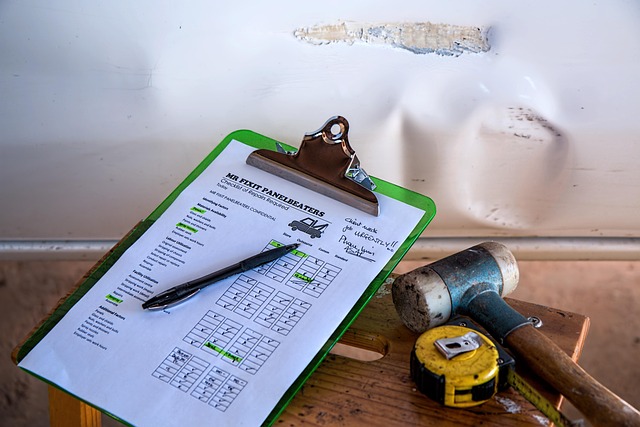
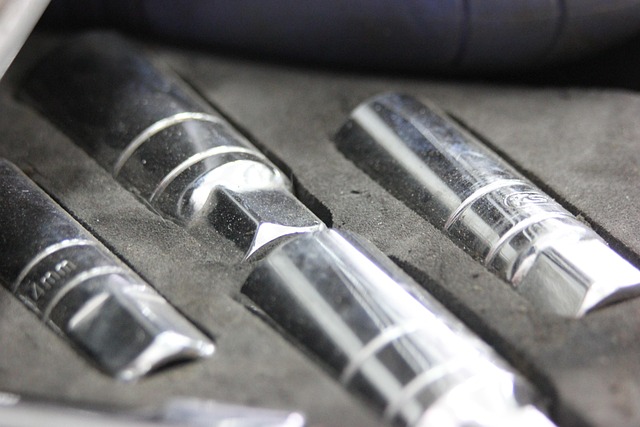
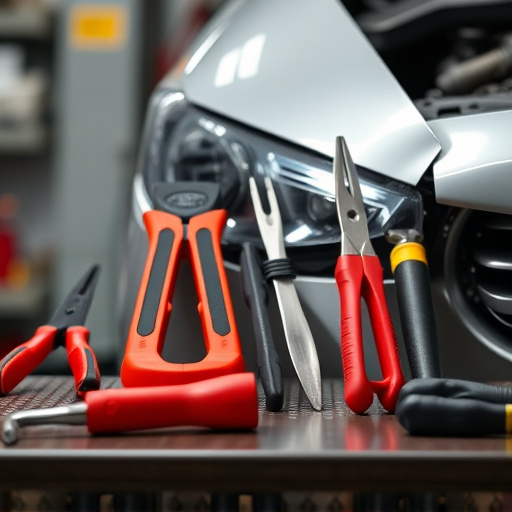
To ensure optimal results during the installation of specialty collision hardware, follow a structured step-by-step guide tailored for precision and effectiveness. Begin by preparing the workspace; clear any obstructions and ensure proper lighting to easily visualize each step. Gather all necessary tools and materials specific to your project, including specialized fasteners, jigs, and alignment guides designed for accurate fitting.
Next, carefully inspect the vehicle or automotive body work area to identify suitable attachment points. Mark these locations accurately using a pencil or specialized markers to guide your hardware placement. Proceed with the installation, adhering strictly to manufacturer instructions. This may involve drilling pilot holes, attaching bracket systems, and securing the specialty hardware using torque specifications as per industry standards for top-notch vehicle repair and automotive body work outcomes.
Common Mistakes to Avoid During Installation Process

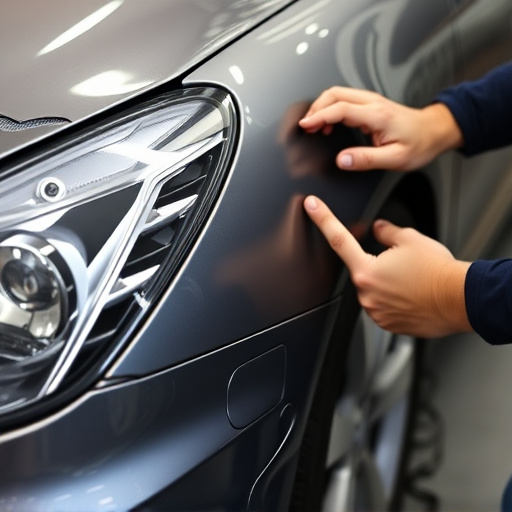
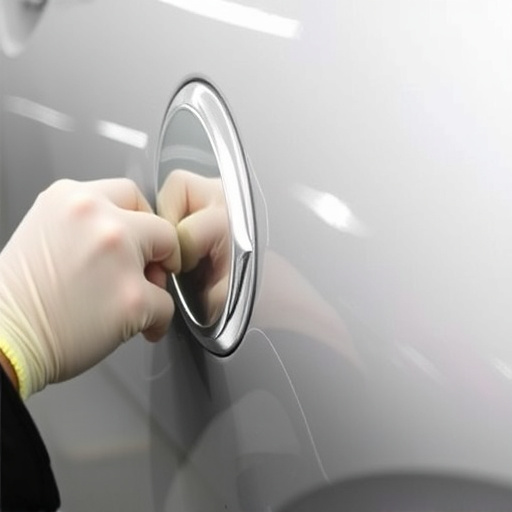
During the installation of specialty collision hardware, there are several common mistakes that can compromise the integrity and effectiveness of the process. One of the primary errors is attempting to rush the job. Each step in the installation should be executed with precision and care; a hurried approach may lead to misalignment or damage to surrounding components. This is especially crucial when dealing with delicate tasks like paintless dent repair, where any error could impact the car’s overall aesthetics.
Another mistake to avoid is neglecting preparation. Ensuring that surfaces are clean, dry, and free from contaminants is vital for a successful installation. Failure to do so may result in weak bonds or uneven finishes, particularly when conducting tire services or car paint repair tasks. Always follow manufacturer guidelines and use appropriate tools to prevent these issues and ensure the longevity of your specialty collision hardware installations.
When installing specialty collision hardware, proper understanding of requirements and a step-by-step approach are key. By avoiding common mistakes, you can ensure optimal results for enhanced vehicle protection. Remember that meticulous planning and attention to detail are essential when dealing with this specialized equipment.