


Specialty collision hardware, including brackets and fasteners, is crucial for precise auto repairs, particularly fender repair and body work. Before installation, thorough preparation is key. This involves assessing damage, gathering compatible tools and components, protecting the workspace, and ensuring safety through PPE. Best practices include cleaning and inspecting surfaces, using correct adhesives/fasteners, aligning with guides, tightening to spec, and regular maintenance for long-term integrity, safety, and structural stability.
Proper installation of specialty collision hardware is essential for safe and durable operations. This article offers valuable insights into navigating the process, catering to professionals and enthusiasts alike. From understanding diverse types of specialty collision hardware and their applications, to a comprehensive step-by-step preparation guide, we ensure you’re equipped with the knowledge. Additionally, best practices for secure mounting are highlighted, emphasizing longevity and safety in various settings.
- Understanding Specialty Collision Hardware: Types and Applications
- Preparation and Planning for Installation: A Step-by-Step Guide
- Best Practices for Secure and Durable Mounting: Ensuring Longevity and Safety
Understanding Specialty Collision Hardware: Types and Applications
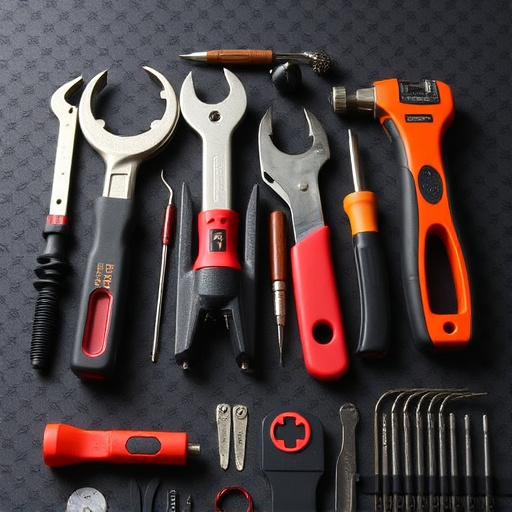
Specialty collision hardware refers to a diverse range of tools and components designed for specialized auto repair tasks, particularly in fender repair and body work. These hardware solutions are tailored to address unique challenges encountered during collision center operations. From precision-engineered brackets to specialized fasteners, each component plays a crucial role in ensuring the structural integrity of vehicles undergoing fender repair or other complex auto repairs.
Understanding the types and applications of specialty collision hardware is essential for any auto repair shop aiming to deliver high-quality service. For instance, specific hardware may be required for aligning and securing panel replacements, ensuring a seamless finish that meets industry standards. By utilizing these specialized tools, collision centers can streamline their processes, improve efficiency, and ultimately provide better outcomes for customers, whether it’s a minor dent removal or a major accident repair.
Preparation and Planning for Installation: A Step-by-Step Guide
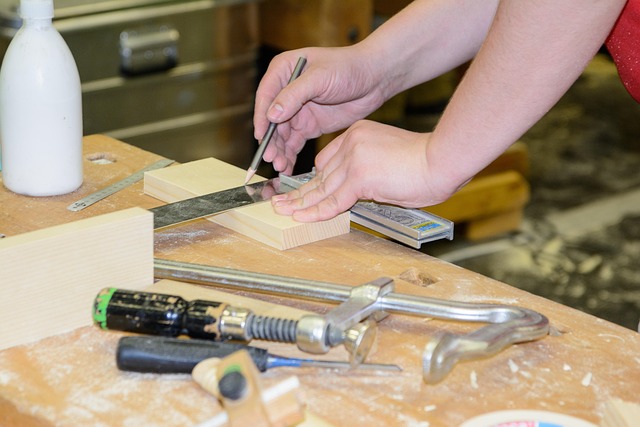
Before you begin the installation process, thorough preparation and planning are essential for a successful outcome when dealing with specialty collision hardware. Start by assessing the damage or modification required to your vehicle, ensuring you have all necessary tools and equipment specific to the job. Create a detailed plan outlining the step-by-step process, including any potential challenges or complexities. This will help in streamlining the installation and minimizing errors.
Gather all the specialty collision hardware components, double-checking their compatibility with your vehicle’s make and model. Prepare your workspace by clearing it of debris and ensuring proper lighting for easy visibility. Protect nearby surfaces from scratches or damage using drop cloths and masking tape. With safety as a top priority, put on personal protective equipment (PPE), including gloves and eye protection, to safeguard against any potential hazards during the installation process, such as sharp edges or flying debris, commonly associated with auto maintenance tasks like frame straightening and car paint repair.
Best Practices for Secure and Durable Mounting: Ensuring Longevity and Safety
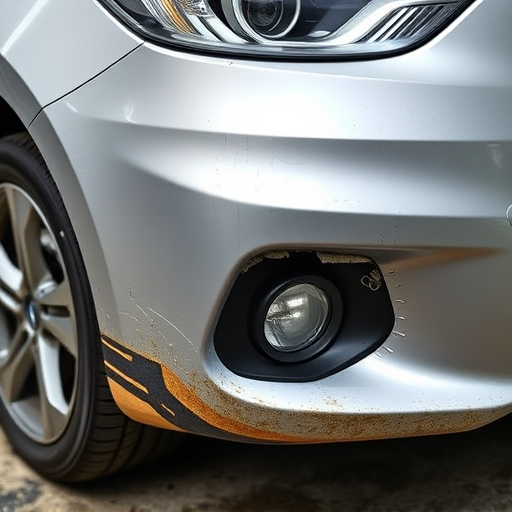
When installing specialty collision hardware, adhering to best practices is paramount for ensuring both longevity and safety. Secure and durable mounting begins with thorough preparation of the installation surface on both the vehicle and the hardware itself. This includes cleaning the area to remove any debris or contaminants, inspecting for signs of corrosion, and applying appropriate adhesives or fasteners designed for the specific material and conditions.
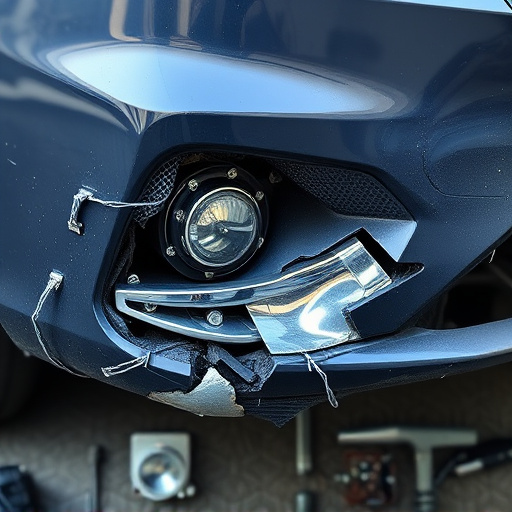
Proper alignment is crucial, utilizing guides and templates where available to ensure hardware lines up accurately with pre-drilled holes and mounting points. Tightening hardware to the recommended torque specifications, as specified by the manufacturer, prevents loosening due to vibrations and ensures all components are securely in place. Regularly inspecting and maintaining these mounts, along with the broader car body restoration or auto body services provided, is essential to preserving the integrity of the specialty collision hardware over time, enhancing safety and structural stability especially during high-impact events or routine tire services.
The proper installation of specialty collision hardware is paramount for both aesthetic appeal and structural integrity. By understanding the diverse types and their applications, meticulous preparation, and adhering to best practices for mounting, you can ensure that your specialty collision hardware not only enhances your space but also remains securely attached for years to come. These tips serve as a comprehensive guide for achieving professional results with any specialty collision hardware project.